DIY Series
Felt Easter Bunny
 |
|
So cute! I've got a few simple and fun DIYs for Easter, today i'm sharing Felt Bunnies! |
 |
|
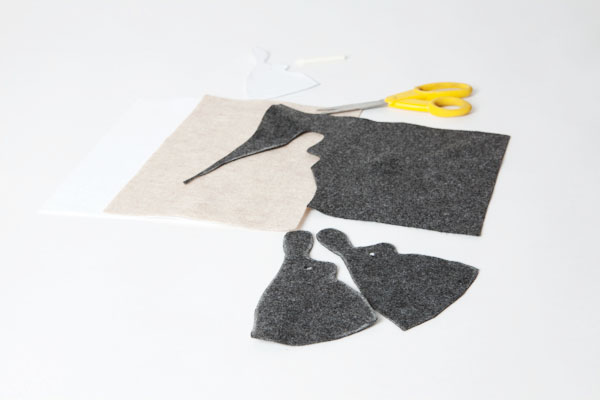
Download and print this bunny shape. |
 |
|
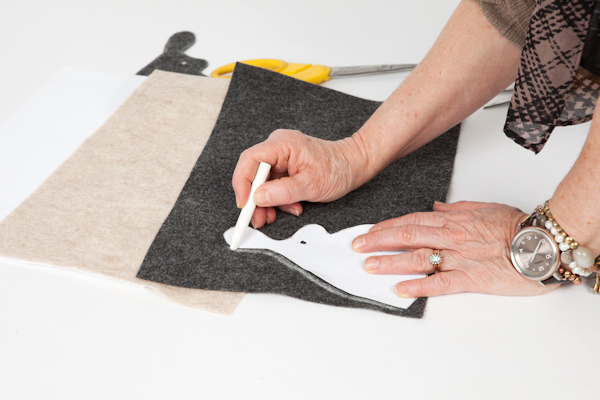
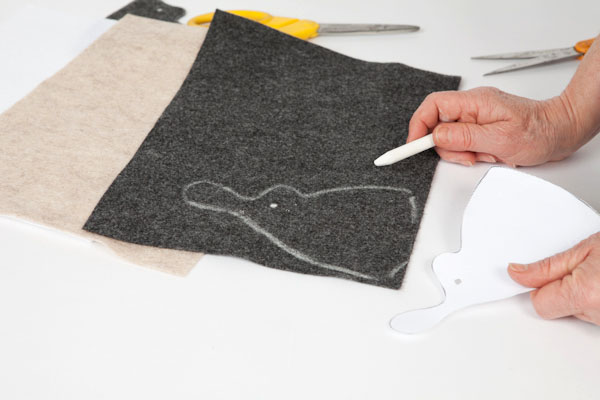
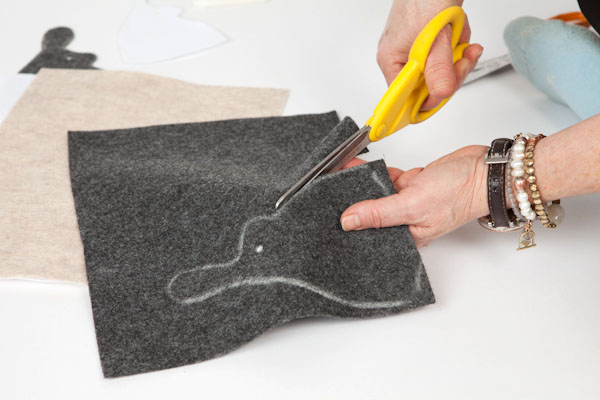
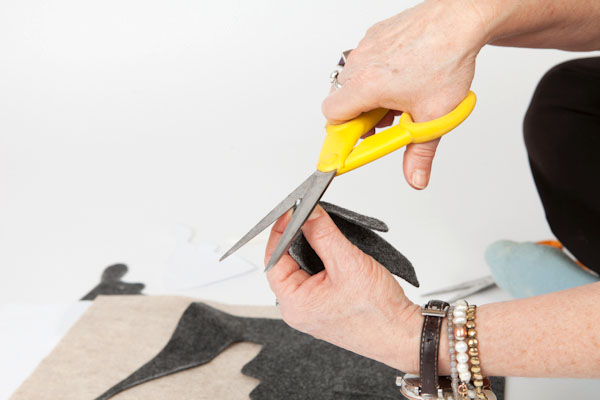
Trace bunny template onto felt. Don’t forget to mark eye dot. Cut two. |
 |
 |
|
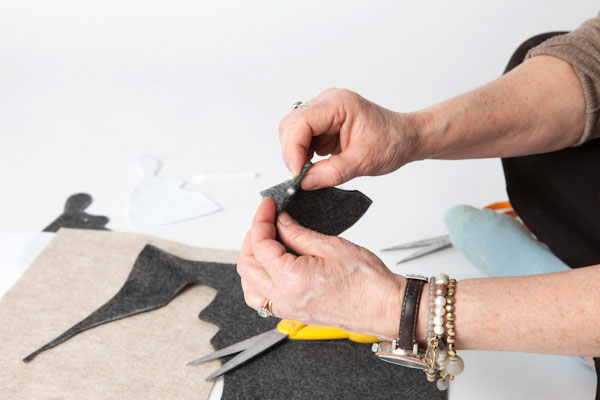
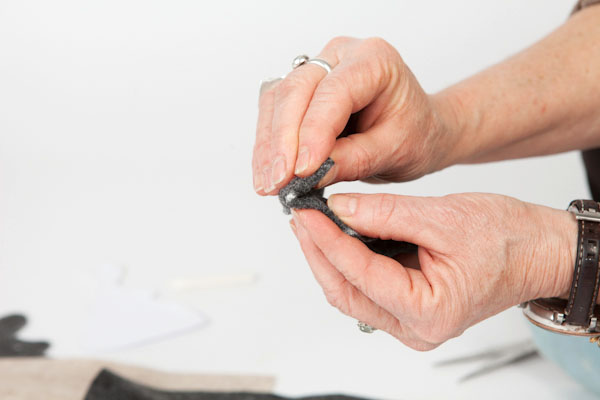
Fold felt on eye dot. Then fold over once more. Nip tip of dot off with scissors creating a small eye hole. This can also be done with a leather punch if you have one. |
 |
 |
 |
 |
|
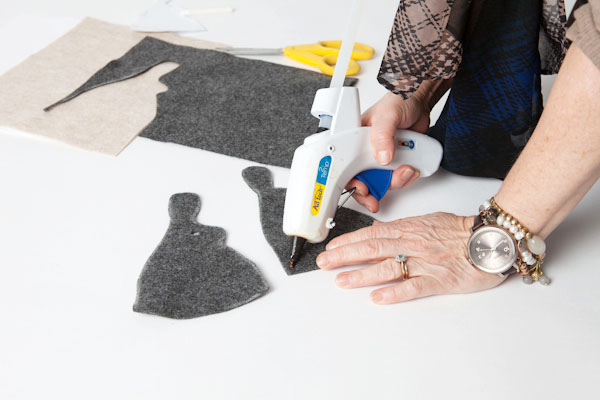
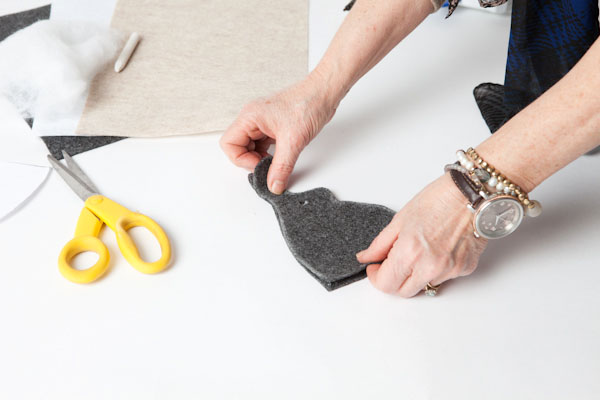
With hot glue gun, lay a thin bead of glue starting at bottom and circle around top of head, but not ears. Do not run glue on the base of the bunny. |
|
|
 |
|
Take the second cut out and place over, pressing down for firm contact. Watch out that you don’t burn yourself. |
 |
|
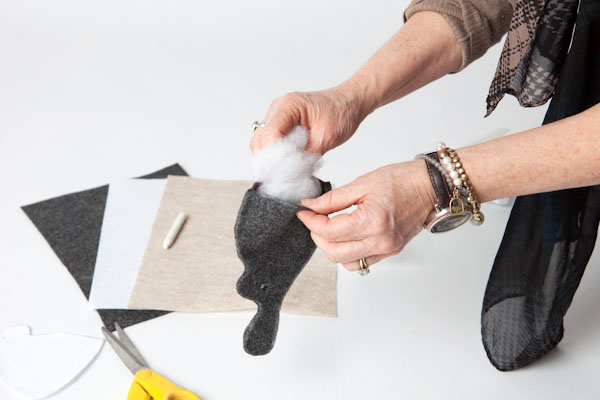
Take a small handful of stuffing material and place in center of bunny. |
 |
|
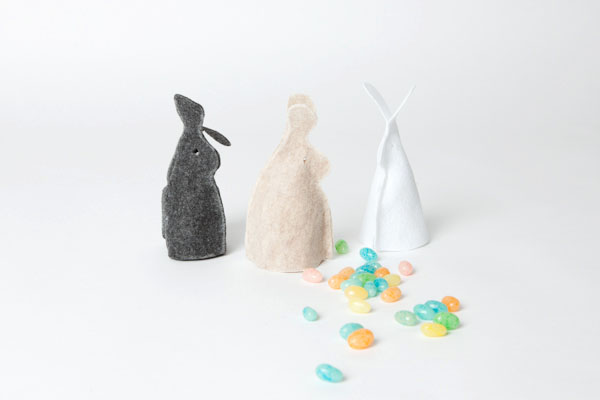
Sit bunny up, spread ears and let them flop.So cute! And easy! these felt bunnies are a perfect Easter craft to do with kids. Stay tuned! I'm going to share two more Easter DIYs with you later this month! |
Photography by Jennifer Klementti |