DIY Series
insert label
 |
|
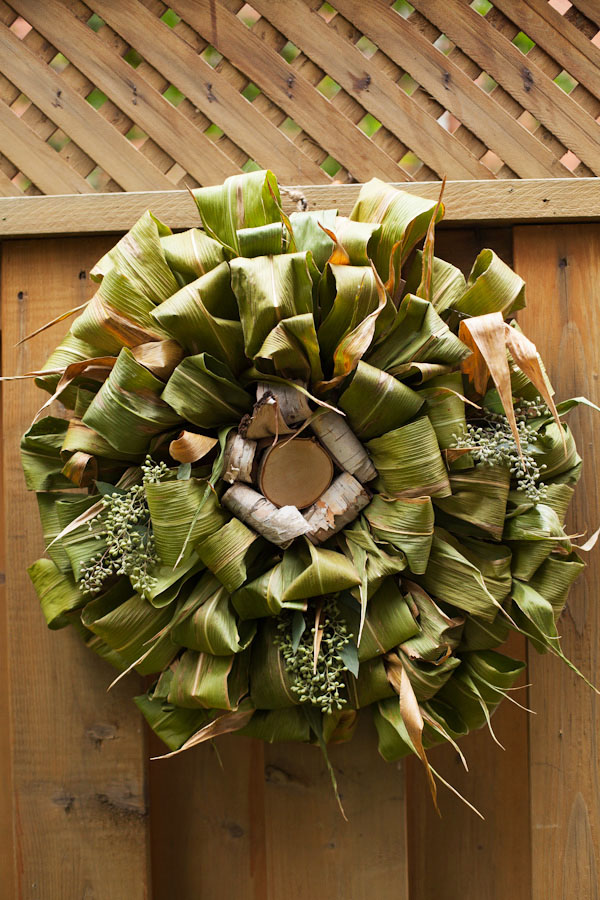
Cornstalk Leaf Composite Wreath What’s hot in the florist world these days? Composite designs. What is a composite design you ask? In the 1940’s and 50’s this type of design was perfected by Constance Spry. She took the idea of making a new bouquet or arrangement from one element of a flower or plant. She stripped down the petals, wired and re-created them to make one gigantic bloom! On the whole these designs are very technical, delicate and take a fast and steady hand. Today I will show you how you can to do this simply, quickly and beautifully. |
 |
|
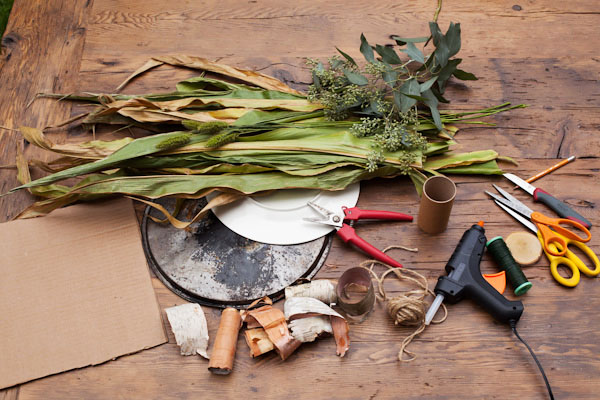
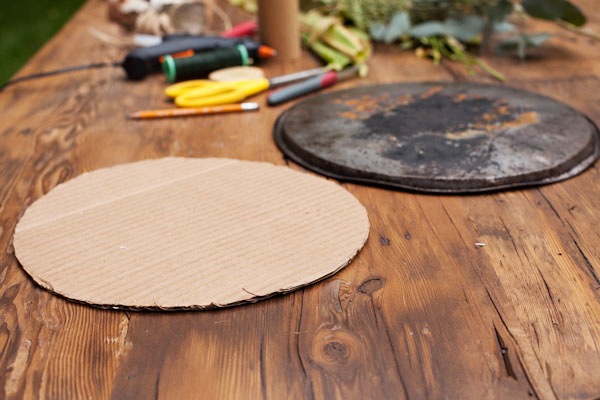
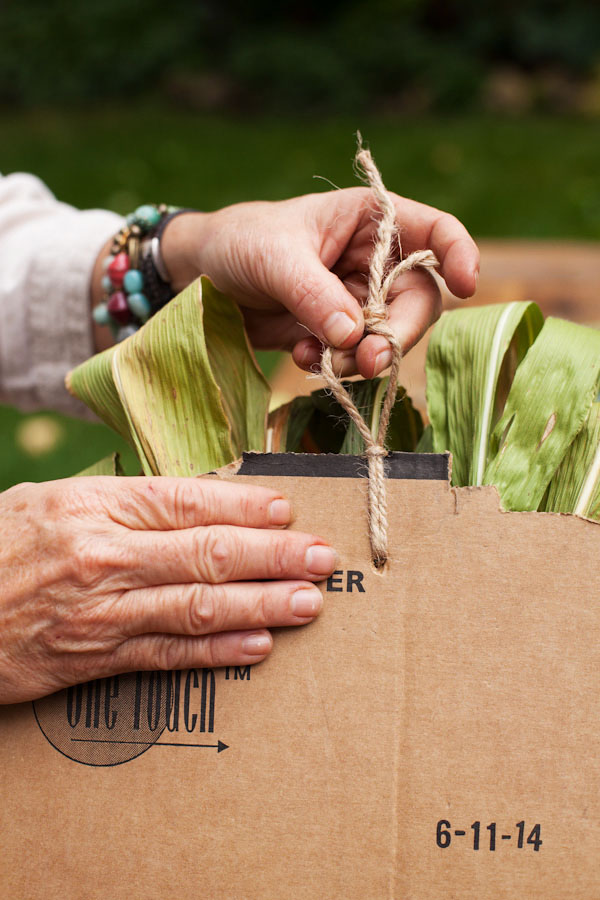
First you will need to have at least 50 to 75 cornstalk leaves. These can be obtained at your local Farmer’s Market, farm produce stands or by asking your local farmer. When I obtained mine they were green but this wreath can also be made with already yellowed or browned leaves as long as they are fresh and still pliable. You will also need the following:
|
 |
 |
 |
|
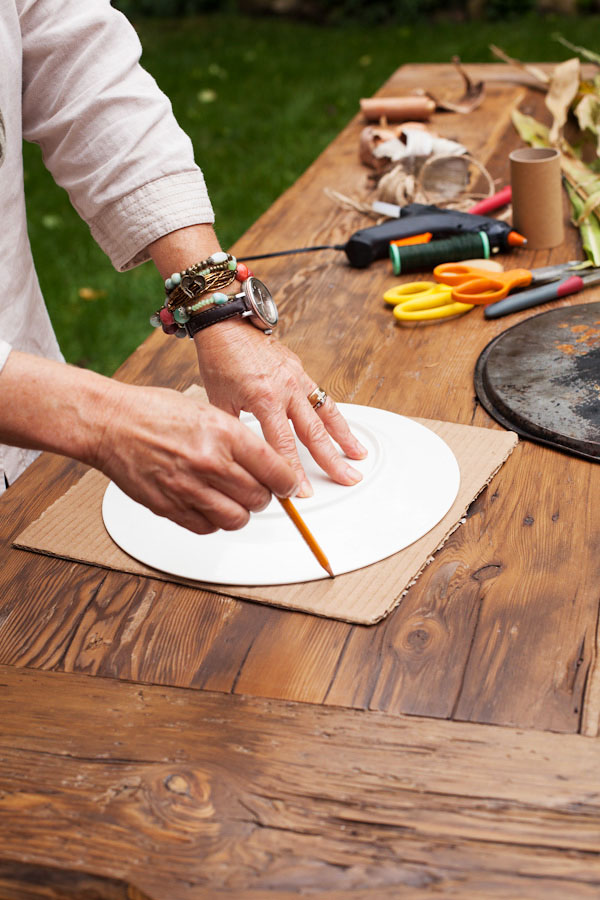
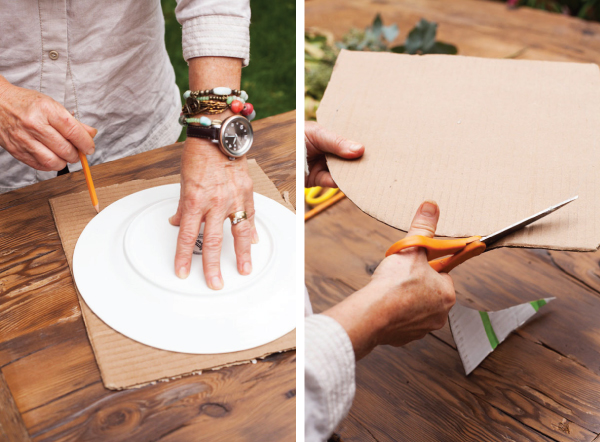
Either using a plate (smaller wreath) or pizza pan (larger wreath) draw circle on cardboard and cut out. This will be the base of your wreath. |
 |
|
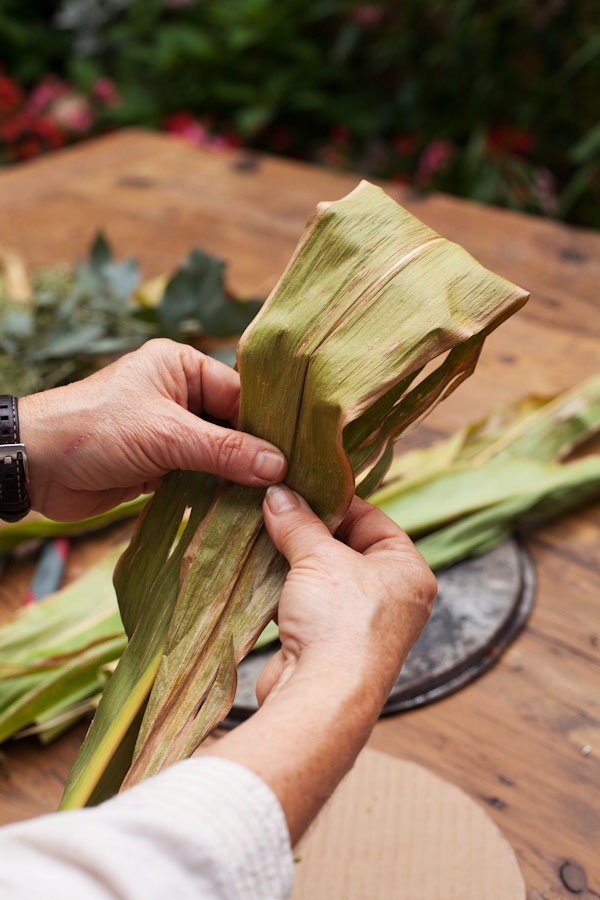
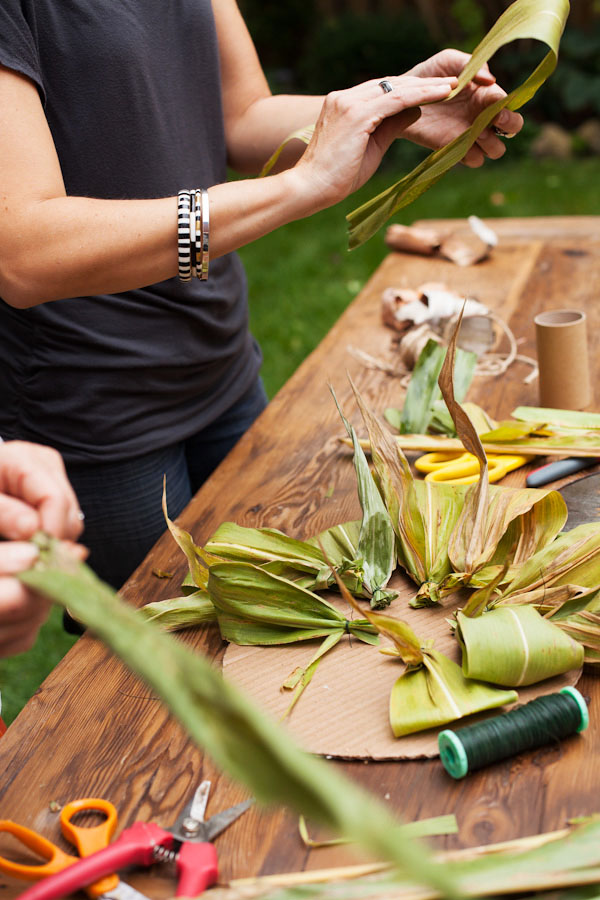
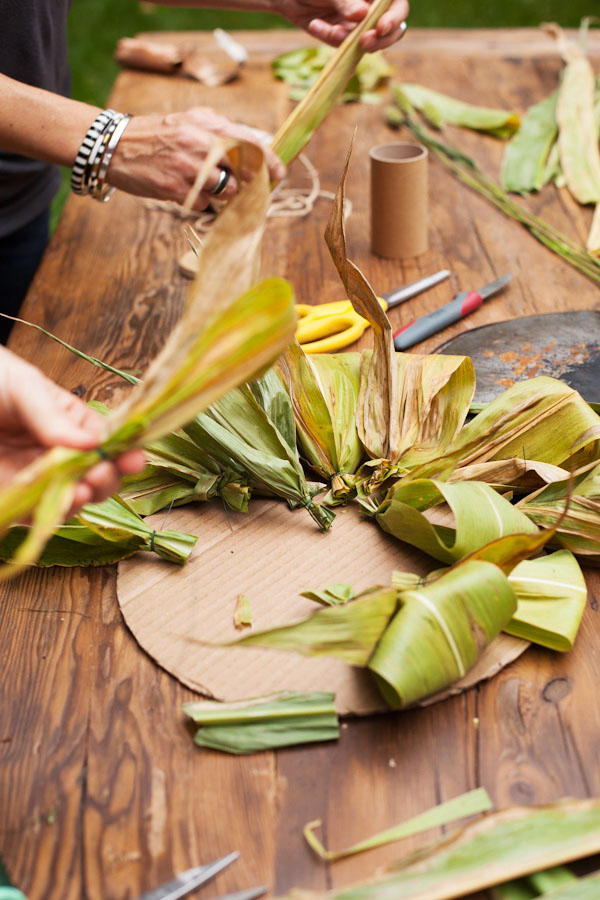
Take up one cornstalk leaf fold over (6 inches maximum), pinch, and then fold over tip of leaf on top. |
 |
|
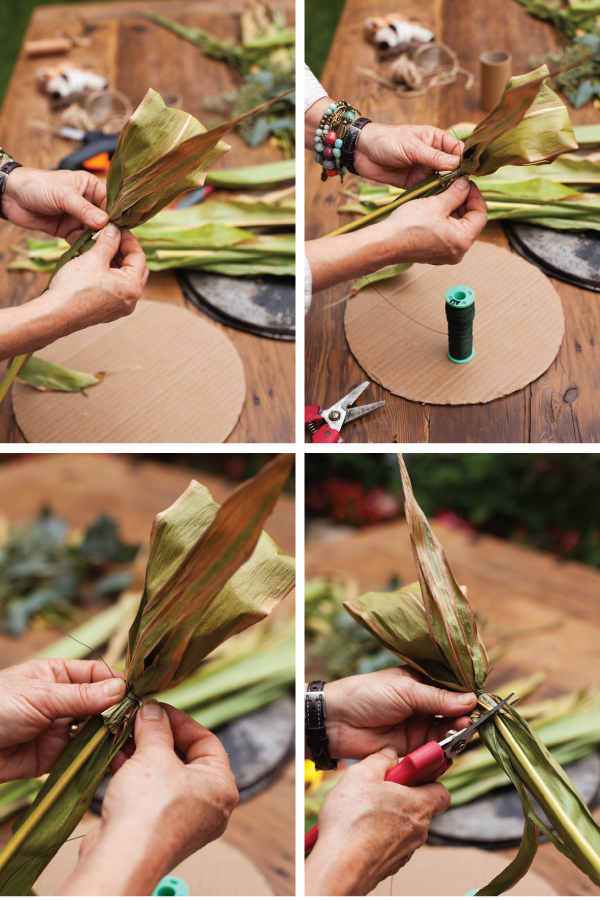
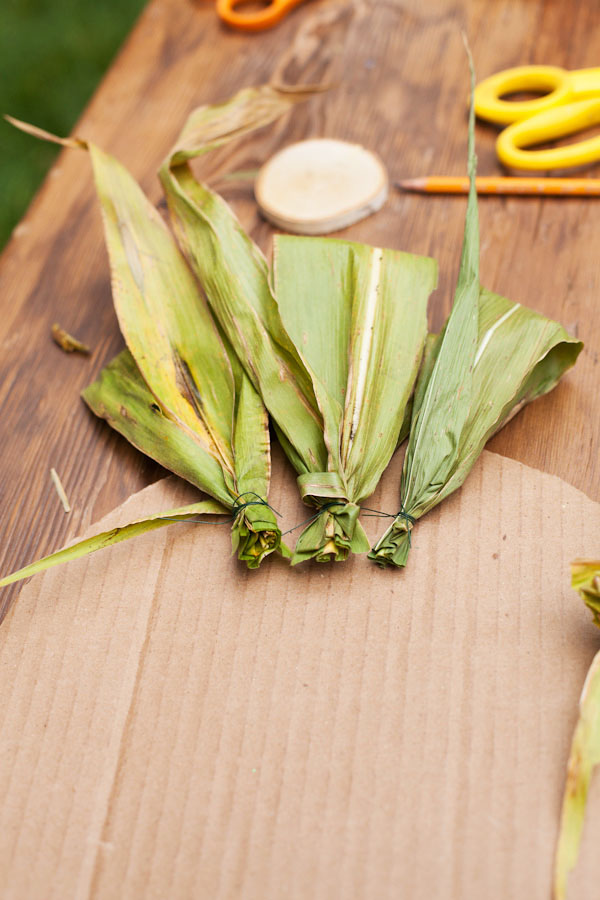
Pinch and then cinch with wire. Cut off excess leaf at bottom.You should be left with a half bow of leaf. Repeat until all leaves are folded. For a small wreath you will need at least 50 leaves. For a larger wreath you will need 75 or more depending on the width of the leaves and desired fullness. |
 |
 |
 |
|
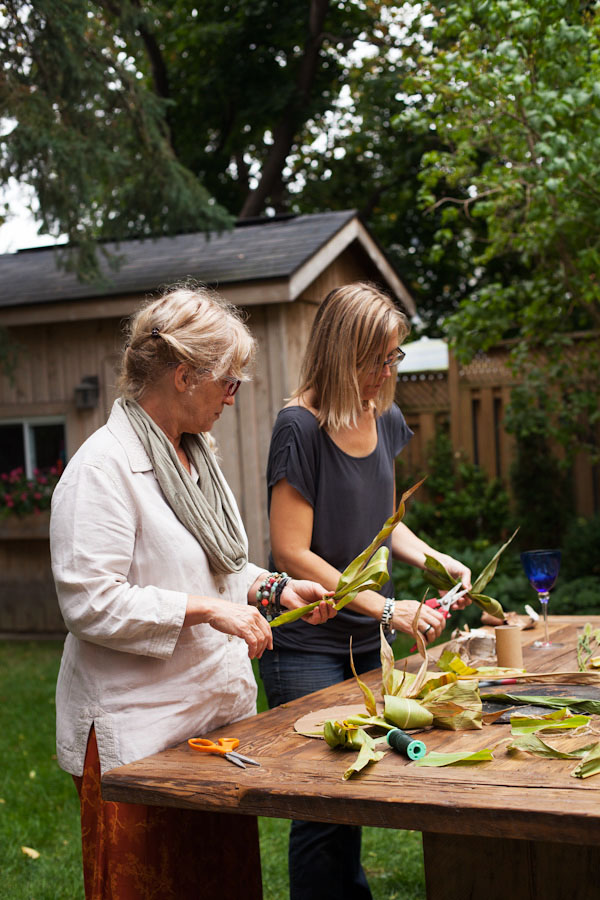
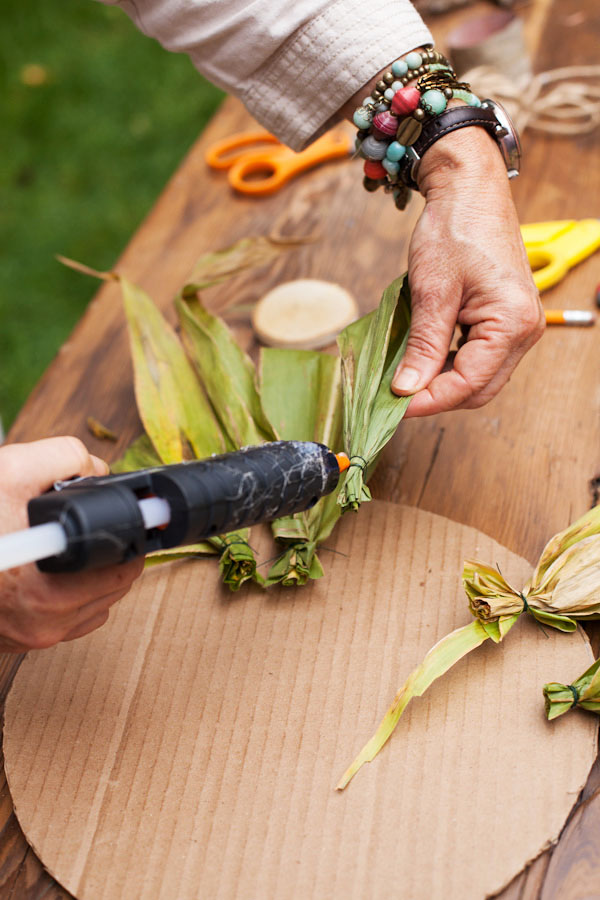
Start assembling wreath. Dot the bottom back of each cornstalk with hot glue and stick each leaf down in a circular pattern within two inches of the circumference. |
 |
 |
|
You want to be fairly even in your placement, but not necessarily perfect. Let nature dictate the natural beauty of the form. The tips of the cornstalks leaves will create the extra texture to your wreath. Once you have finished the outer edge repeat the next circle, overlapping the first circle by a couple of inches, and hiding the base of the previous circle. Keep repeating till you have covered all the cardboard from the outside edge to the center. |
 |
|
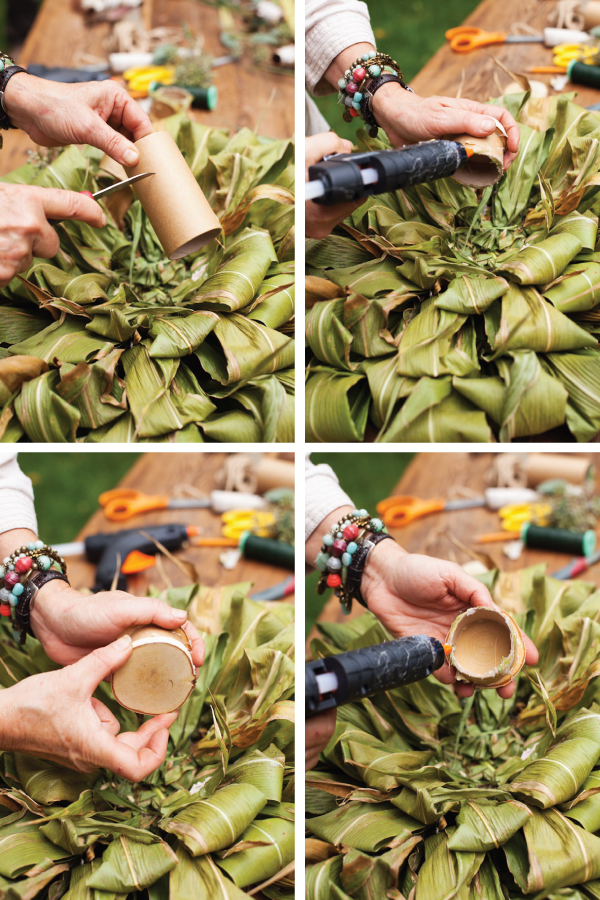
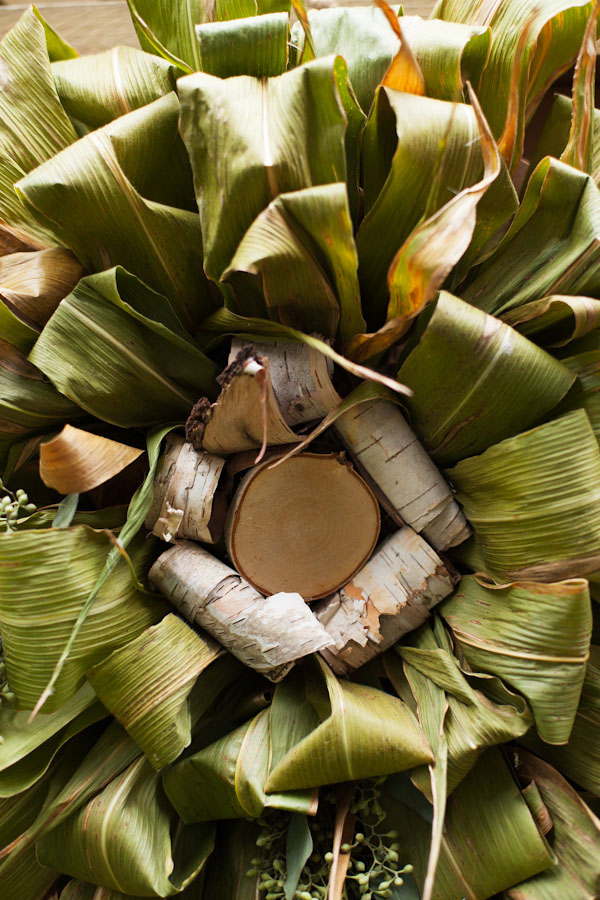
You are almost there! Take your cardboard paper roll and cut a two inch length off of one end. Apply hot blue to circle end and stick on birch bark disc. This will be the center of your composite flower design. Apply glue to opposite end of paper roll and stick into middle of wreath. |
 |
 |
 |
|
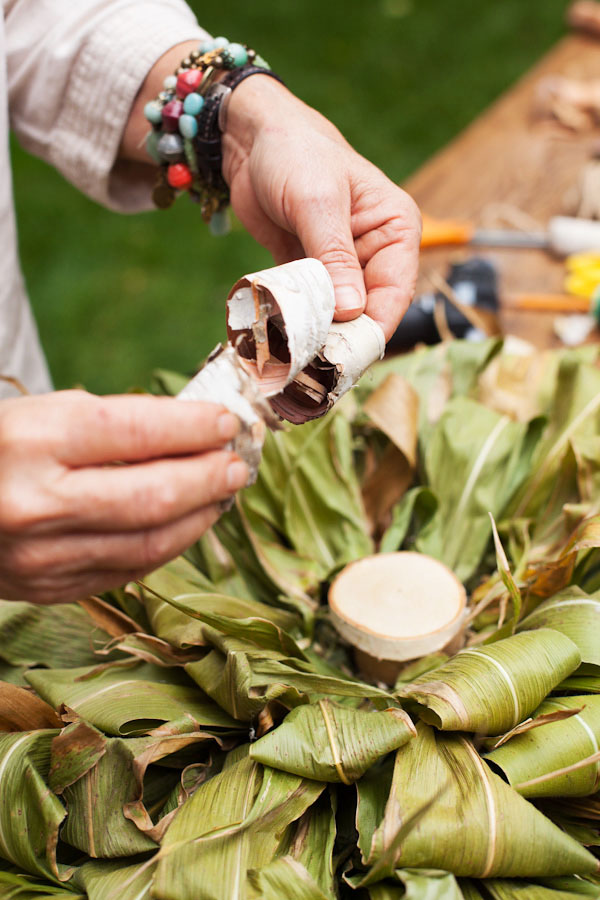
Take your birch bark and rip into 2 inch strips. Roll strips into tubes 1 inch in diameter. Glue the ends tight. You will need five rolls. |
 |
|
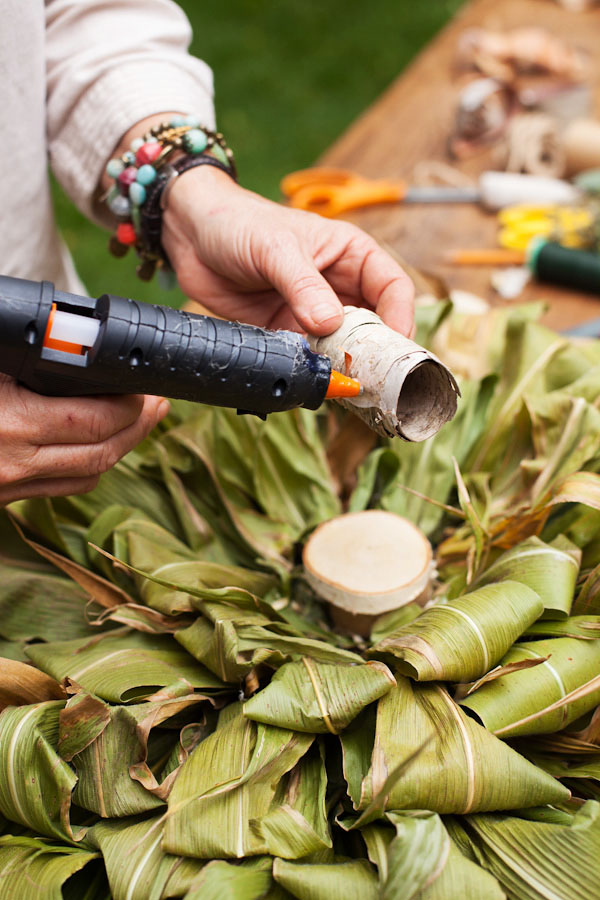
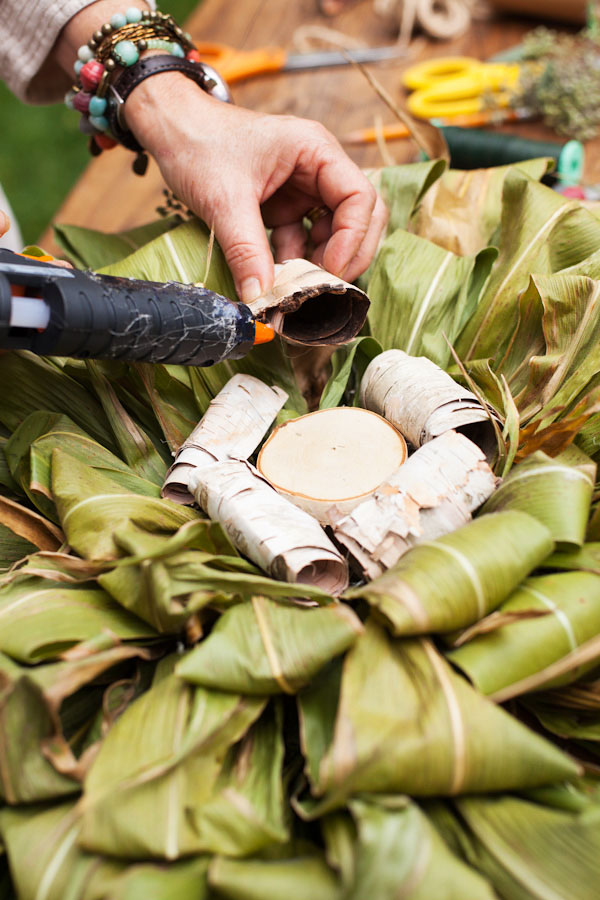
Take and glue the rolls around your birch bark disk. This should cover all the ends of the cornhusk center loops. |
 |
 |
|
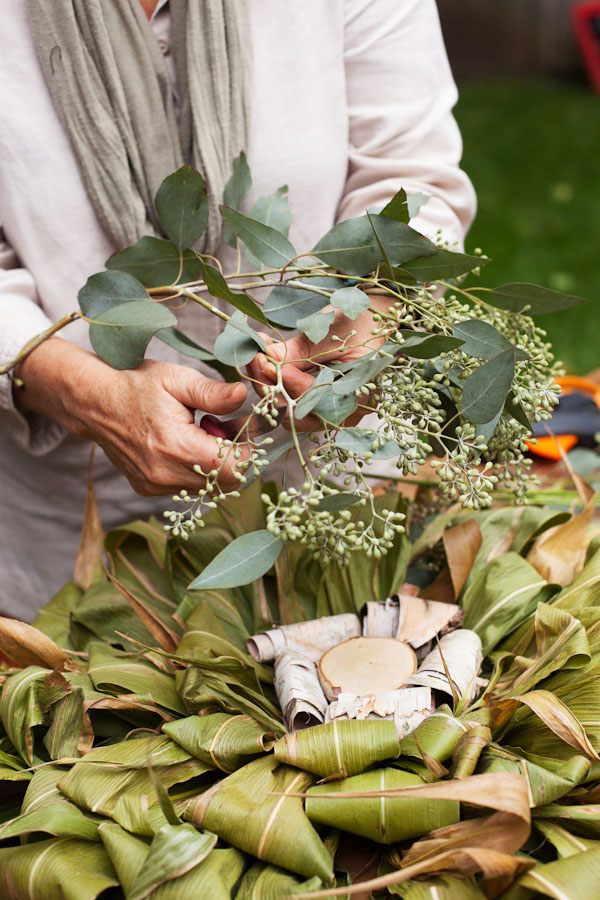
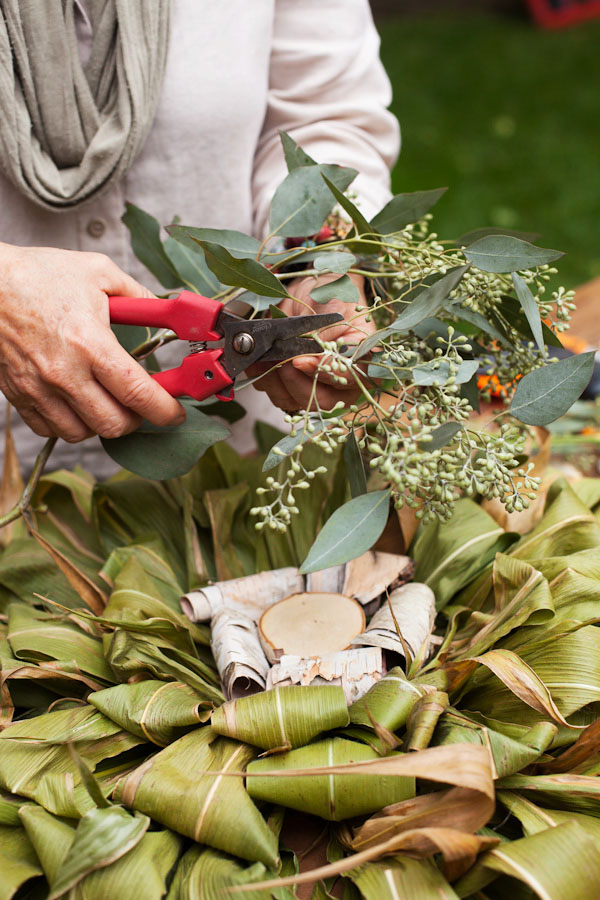
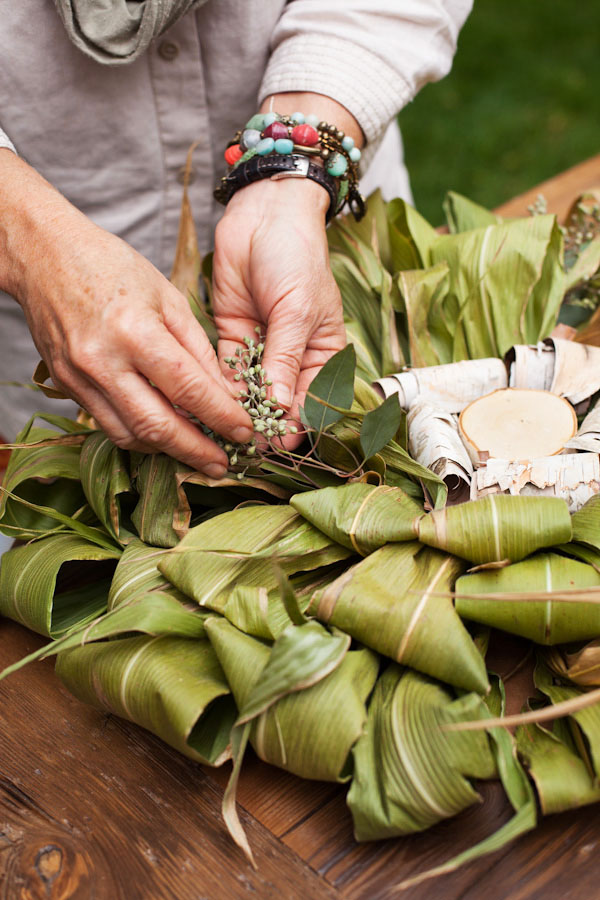
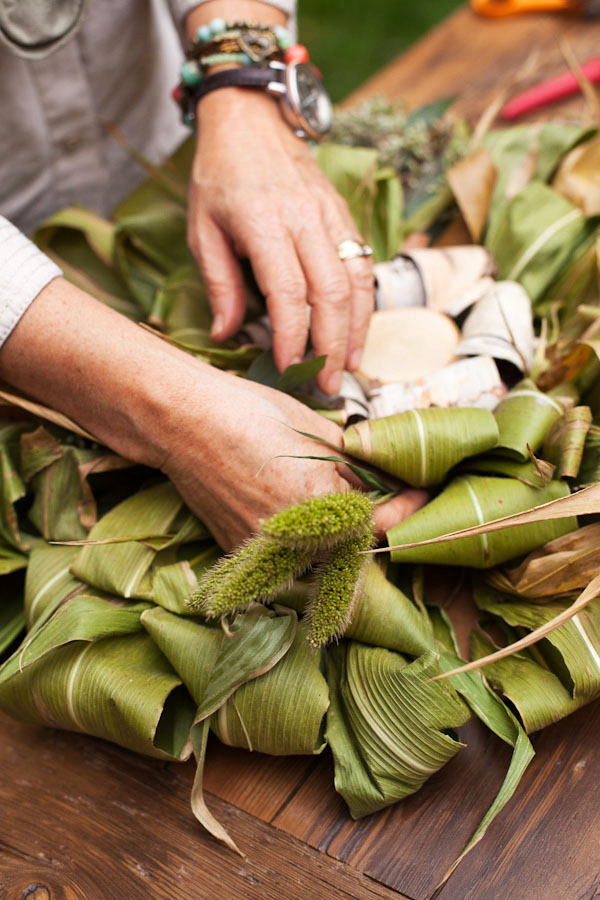
To add a little more texture to your wreath cut sprigs of either seeded eucalyptus, grass or wheat and add in among the cornstalk loops |
 |
 |
 |
|
Take your wreath and hold it up. Keep turning your wreath in a clockwise manner finding the balance of the top and bottom. Once you see how you would like it to hang turn over and make a small punch hole at the top with your knife, insert the string or wire to make a loop to hang. You are finished! |
 |
 |
|
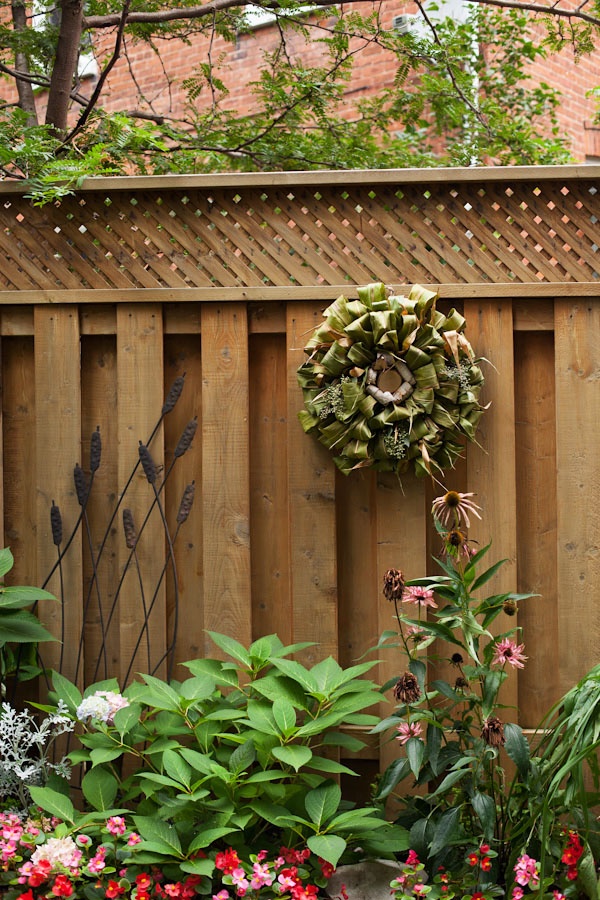
When making this wreath with green cornhusks it will dry naturally to a brown gold. Enjoy watching it change as it dries naturally on you door. To take this wreath to the next season you can try the following options:
This project is also environmentally friendly! When no longer needed simply add in to your weekly yard waste pick up! |
Photography by Jennifer Klementti |